A mixed patio set rarely needs one cleaning method for everything you can see. Before you fill a bucket, separate the frame, finish, tabletop, hardware, weave, and cushions in your notes so each material gets the care its maker actually recommends.
You can still make the job fit into a practical weekend, but the useful plan is organized around compatible instructions and drying space rather than the strongest tool in the garage. Start with a small area you can finish properly, then decide whether the rest belongs in the same session.
Make a material list for each piece
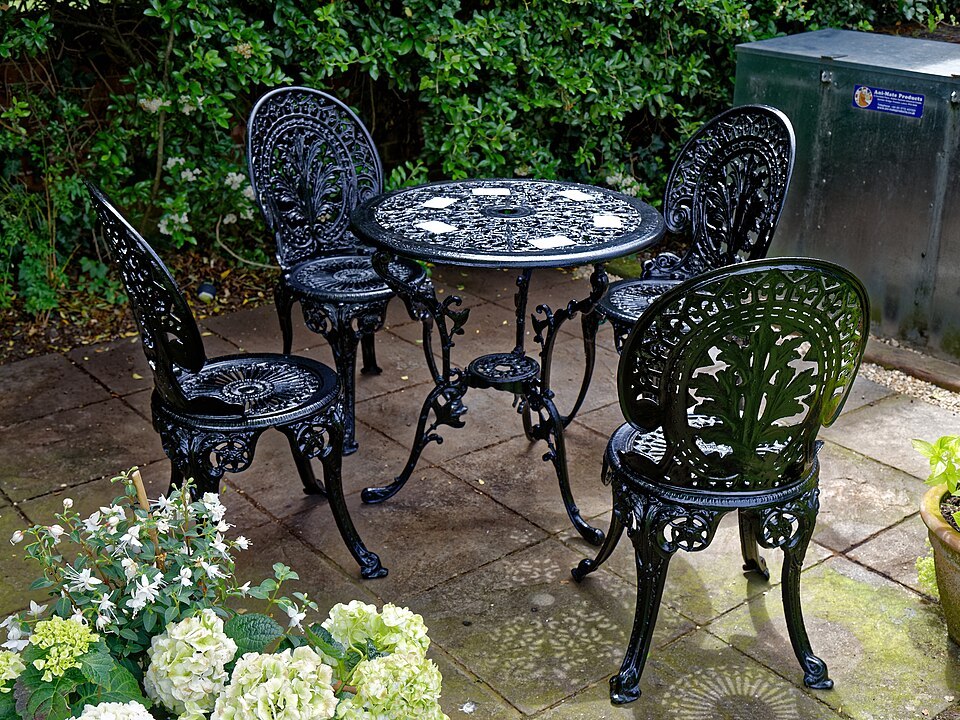
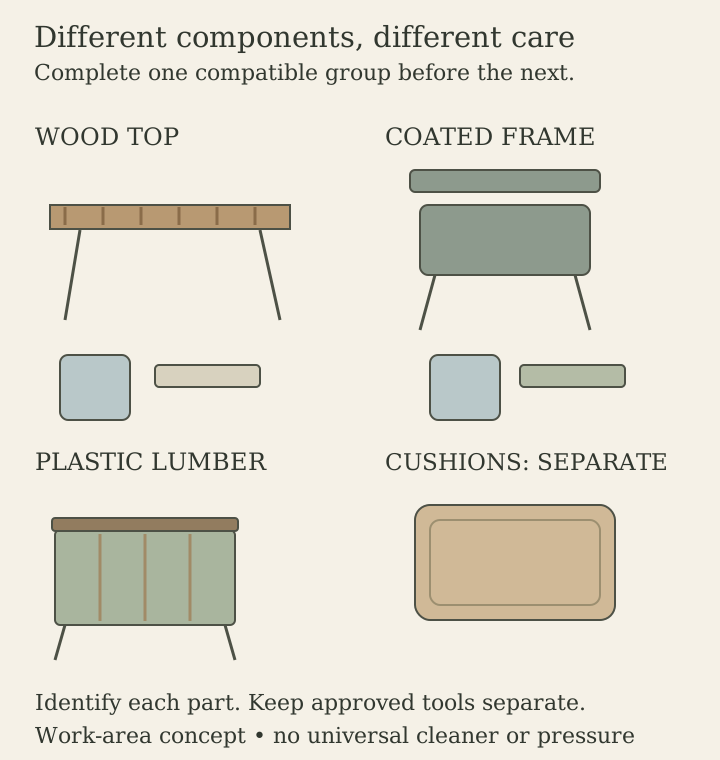
Find the furniture model and its current care instructions, then identify the parts that need separate attention. A wood-topped metal table, for example, may require different treatment for the top, painted frame, fasteners, and any insert around an umbrella opening.
Photograph labels and save the instructions where you can read them without handling your phone with wet gloves. If the description says only wicker, plastic, or wood, ask for the missing frame or finish information before assuming that a familiar cleaning method applies.

Prepare a work area you can control
Move cushions and unrelated objects away from the cleaning area using the maker’s handling guidance, then protect any nearby materials that the cleaner could affect. Keep the route to the door open so you do not have to carry a dripping chair through the house because the patio has become an obstacle course.
Read the cleaning product’s label alongside the furniture instructions, including dilution, protective equipment, contact time, and water-handling requirements. Do not combine products to make a stronger mixture, and resolve any conflict between the label and the furniture maker’s guidance before proceeding.
Choose a manageable group of similar pieces and set out enough approved tools to avoid transferring residue from one material to another. A cloth used with a treatment for one surface should not automatically become the cloth you use on fabric, a painted frame, or an untreated tabletop.
Keep plastic-lumber guidance specific
For its own lumber furniture, POLYWOOD describes removing loose debris, washing with mild dish soap and water using a suitable soft brush or cloth, rinsing, and air drying. That sequence is a manufacturer-specific example, so use another brand’s actual care sheet when its material or finish differs.
The same POLYWOOD instructions separately address more intensive methods and specifically exclude pressure washing cushions, fabrics, and pillows. You do not need to choose those stronger methods for a routine cleanup, and their existence is not permission to use the same settings or chemicals on unrelated plastic furniture.
Check the product’s instructions for textured areas, joints, and the underside, where leaves or residue may be less obvious from above. Plan enough room to reach those places without turning the furniture in a way that the maker does not permit or balancing it on an unstable support.
Treat the metal finish as part of the material
Find the care guidance for the actual coating or finish before choosing a pad, brush, or cleaner for metal furniture. An outdoor frame may look robust while its finish needs gentler treatment than the rough surface elsewhere on the same patio.
For its aluminum furniture, POLYWOOD’s own FAQ describes soapy water and a soft cloth followed by rinsing and towel drying, while warning against abrasive pads and harsh chemicals. Keep that advice attached to the manufacturer’s product scope instead of treating it as a guarantee for every painted or plated metal surface.
If you notice a damaged coating, loose component, or corrosion concern while cleaning, photograph it and ask the maker about the appropriate next step. Cleaning and finish repair are separate jobs, so a stain that reveals damage is a reason to pause rather than scrub harder until the surface looks uniform.
Clean wood according to its finish
Look for the wood species and the supplied finish information, then use the product’s specified cleaner and method. Outdoor Interiors provides its own hardwood care guidance, which is useful evidence that maintaining the intended appearance can involve a different routine from simply washing the frame of another material.
Do not add oil, sealant, stain, or a general furniture polish because the wood looks dry in a photograph. Ask whether the piece is designed to weather, whether a treatment is compatible, and what preparation and drying the manufacturer requires for that exact surface.
If the maker recommends a maintenance treatment after cleaning, treat it as a separate stage with its own conditions and workspace. You may decide to clean this weekend and complete the later treatment when the instructions’ drying and weather requirements can actually be met.
Look inside woven construction
Identify whether the weave is natural or synthetic and what frame sits beneath it, then find guidance for the complete assembly. A woven chair is not only its visible strands, so any permitted washing method also needs to suit the supports, feet, hardware, and attached components.
Inspect the places where debris collects and use only the tools the maker permits rather than poking through the weave with a sharp object. If a strand or attachment appears damaged, record it before cleaning so you can ask about repair instead of accidentally making the defect harder to assess.
Keep cushions on their own care plan and avoid assuming that a frame’s hose-friendly instructions apply to the upholstered pieces. The cleanest schedule may be one session for frames and another for cushions, especially when each group needs a different drying arrangement.
Finish one group before starting another
Imagine that your patio holds two coated-metal dining chairs, a wood table, and a plastic-lumber bench, with space to dry only one group at a time. Start with the group whose instructions and drying arrangement you can complete, then return it to use before spreading the next job across the same limited area.
Inspect the finished surfaces in ordinary light and check that no cleaner remains in the places the instructions require you to rinse. Avoid covering or storing the pieces until they are ready under their care guidance, because finishing the visible washing stage is not the same as completing the job.
Collect used supplies and handle remaining cleaning solution according to the product label and local requirements rather than pouring it into a storm drain. Put tools away only after they have been cleaned as appropriate, so the next session does not begin with an unidentified residue on the first cloth you pick up.
Before returning each piece, check the glides and feet against the surface where it normally stands, and note any missing or damaged parts for the appropriate replacement. A cleaning session gives you a good opportunity to spot those small handling problems while the underside is visible, without turning routine care into an unplanned repair project.
Save a routine you can repeat
Keep a short record of the model, material, finish, approved products, and any questions you had to resolve with the maker. You do not need a complicated household manual, just enough detail to avoid repeating the same material-identification exercise every time pollen or food residue returns.
Put a note beside any component whose identity or finish remains uncertain, and leave that item out of the cleaning sequence until you resolve it. This gives you a useful stopping point while the other compatible tasks continue, rather than allowing an unidentified fitting or faded label to push you toward a cleaner chosen only because it is already nearby.
Choose a maintenance rhythm that follows the manufacturer’s guidance and the actual exposure you observe, adjusting the work into manageable groups. A useful weekend plan leaves you with clean, properly dried furniture and a patio you can sit on again, instead of several unfinished treatments competing for the same patch of ground.